Monday, August 30, 2010

Mini Skull Vase Fillers {a pb knock off}

IMG_1840

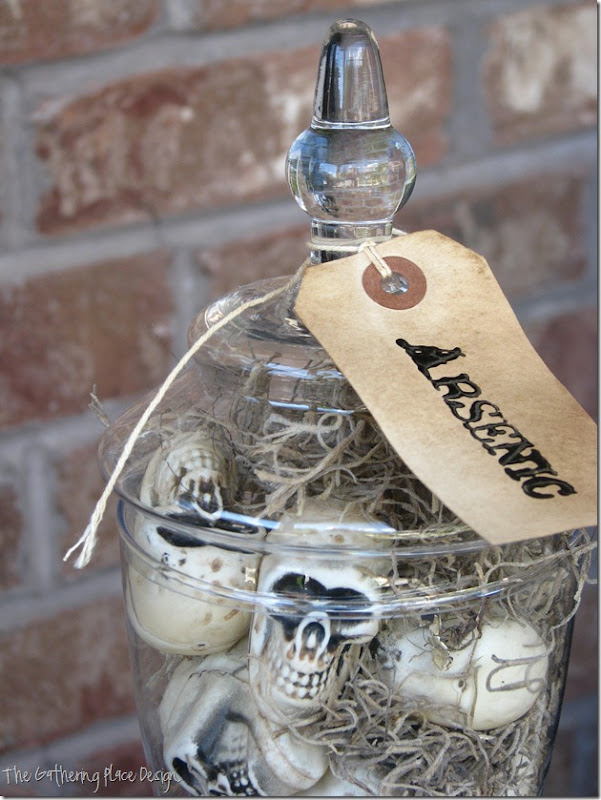
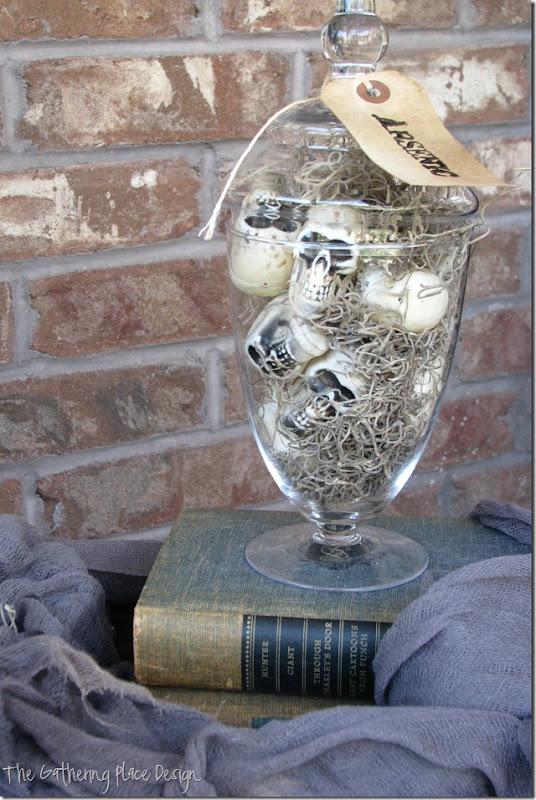
I know it is a little early for Halloween, but I am hosting a party this year so I have been working on a few projects to get ready.  I don’t know if you saw the Mini Skull Vase Fillers in the PB catalog, but I quite liked them.  So you can only imagine my excitement when I found these skulls at the dollar store! 

IMG_1837  IMG_1839 

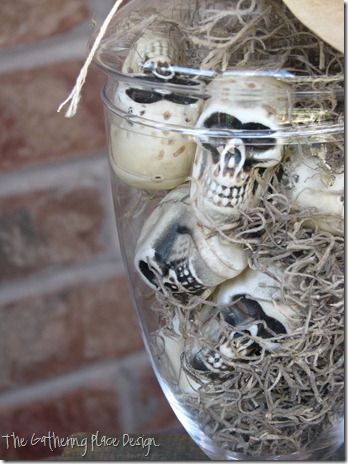
I got a pack of like 8-10 for $1.  They were a little smaller and brighter than the PB ones, but very similar.  To tone down the whiteness I put the skulls, along with some brown acrylic paint and a little water in a Ziploc baggy.  I mixed them around and moved them about so they were coated with the paint and then let them dry on a paper towel. So very easy.

IMG_1841

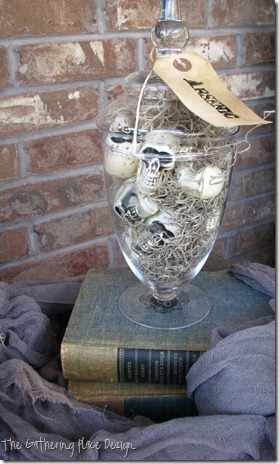
I simply placed them in an apothecary jar with Spanish moss and finished it off with a rustic tag I stamped.  Who’d ever guess it only set me back a couple bucks?  And did you check out the price on PB’s?  Mmm Hm.

Thank you Pottery Barn.  Thank you dollar store.  Happy Halloween. ;)

Linking up …

Sawdust and Paper Scraps “Everything Halloween” Party!!

get-your-craft-on

Photobucket
 

Where I Blog

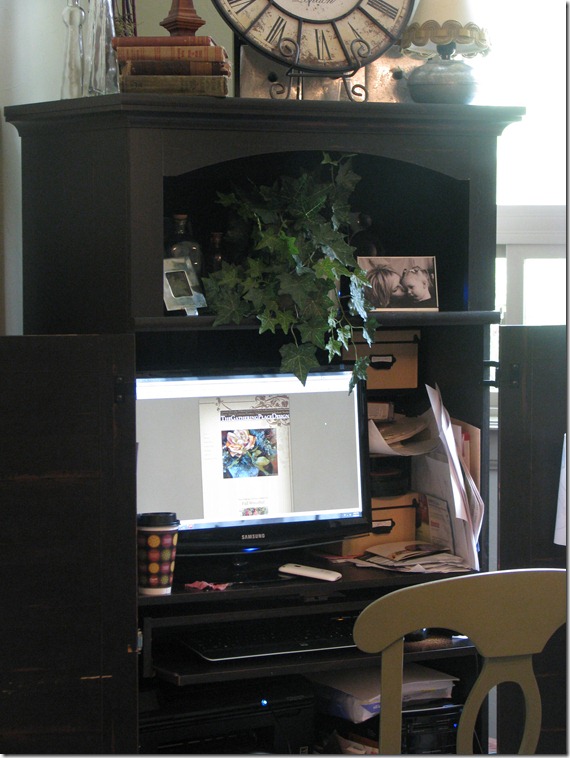
Kate at Centsational Girl is having a fun party to show where all the blogging goes down.  I love this idea! It has been fun for me to see where everyone is blogging,  so I thought I would join in because maybe, just maybe, one of  you might enjoy seeing where I jot down my thoughts and projects to share with you.    

IMG_1932

Here it is, in all it’s glory!  I really wish I had some fab space to show you, but the truth of the matter is that I have smallish children that need me what seems like every. second. of. the. day. (please know I wouldn’t have it any other way!)  So having my computer off the kitchen in the central family area works best because otherwise I may never get bits and pieces of a blog post put together into one somewhat cohesive blog post.  And being able to hide it works best because, well… it looks like this.

I totally  should could have made it look a little more presentable for ya, but I decided to keep it real and show you how it truly looks.  Coffee cup, starburst wrapper, scattered papers, dust and all.  I have to say though, seeing it like this makes me want to be better. More organized.  Hey maybe there will be an upcoming post on ‘how I cleaned up my super tiny family computer/blogging station computer armoire computery area. place’.      Maybe. ;)

Ok stop drooling over my “office” and go check out all the other great spaces!!
Saturday, August 28, 2010

A {Frugal} Fix

IMG_1867  

Have I ever told you I love clearance & scratch ‘n dent items?  Well just  in case you missed that, I DO! ;)  One reason being that I love to give new life to otherwise discarded items to make them beautiful and/or functional once again.  Finding something for little of nothing and then making it look fantabulous is  a natural high for me.  LOVE.
IMG_0841 

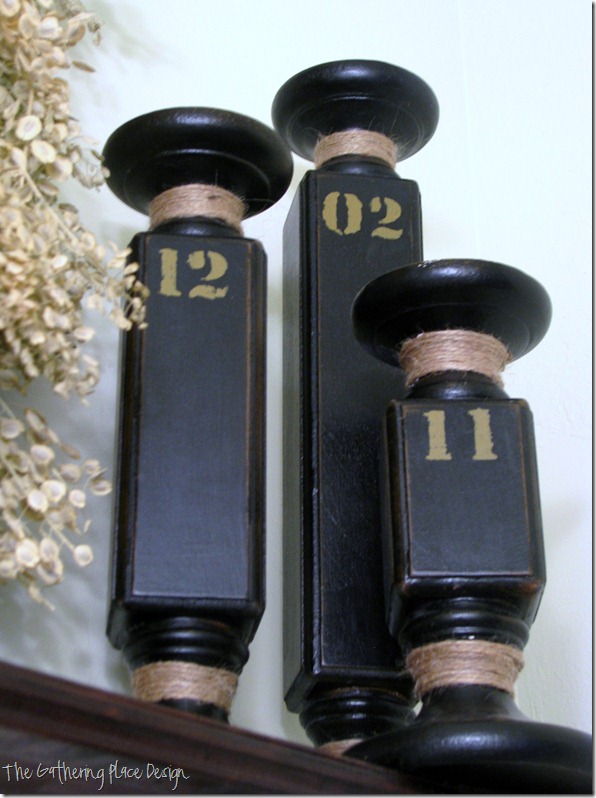
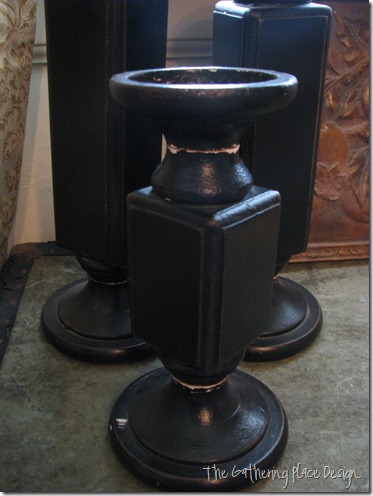
Enter these candle holders.  I picked them up for a tiny bit of $ because of the obvious damage.  But I love the chunky shape, slightly aged appearance plus they are sturdy and heavy.

  IMG_1890

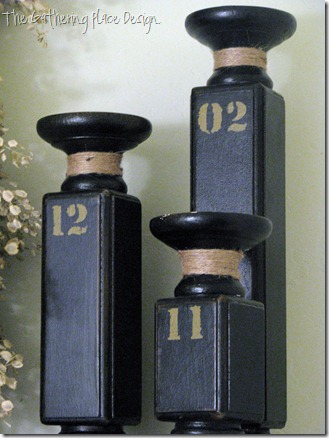
Add a little hot glue, jute and paint…

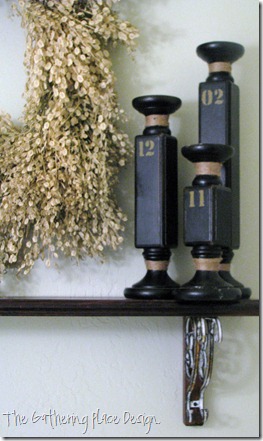
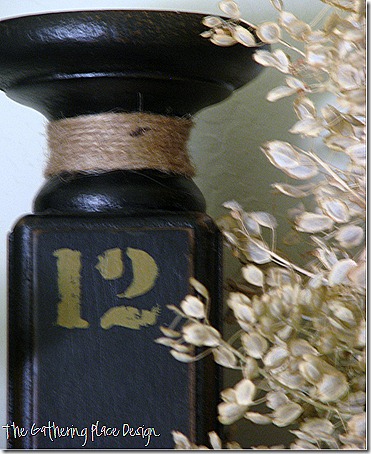
I first wrapped the jute twine around the cracked areas then stenciled the numbers on.  I decided on the month Mr. Husband and I were married and my two little’s birth months. Very Important Months. :)

IMG_1898  IMG_1899

I really love how they turned out.  Just a little reminder to grab those {not so perfect} items that others may walk by and make them perfect for you.

Linking up…

Visit thecsiproject.com 


Wednesday, August 25, 2010

Candle Sconces

IMG_1762
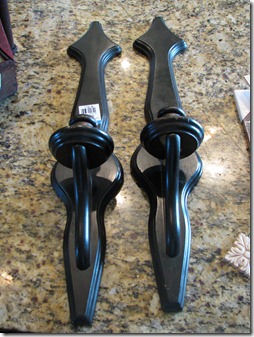
I found these wood candle holders at the thrift store for $3 for the set.  They are good quality wood and I loved the curvy shape of them.
IMG_0383IMG_0599 IMG_0598
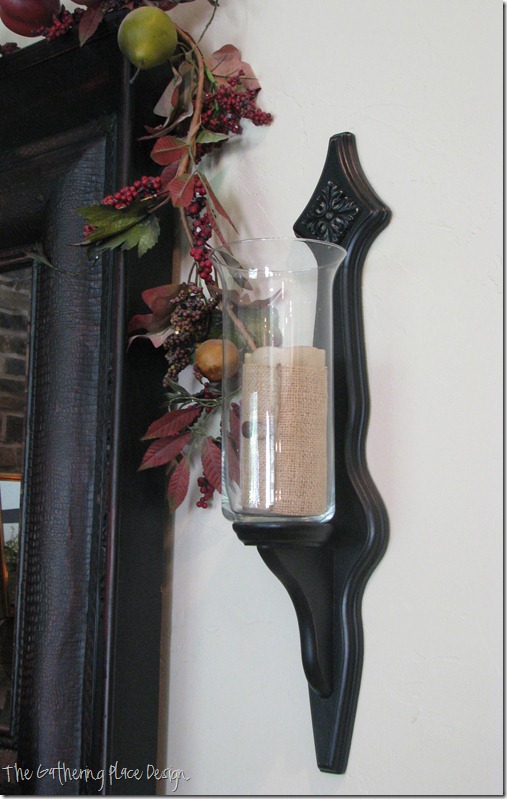
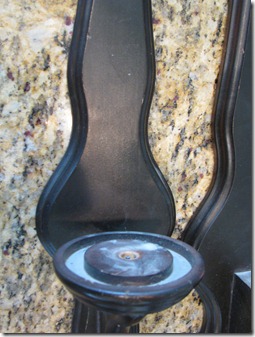
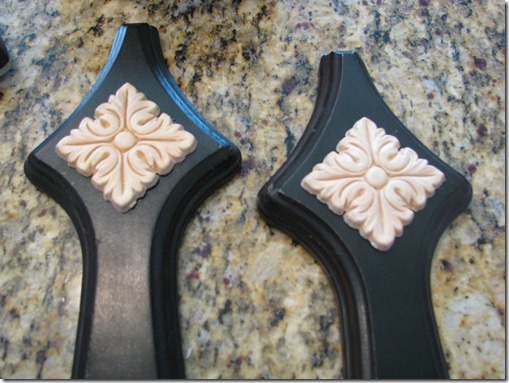
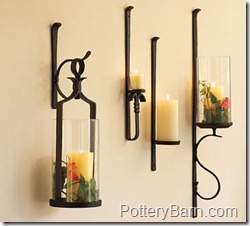
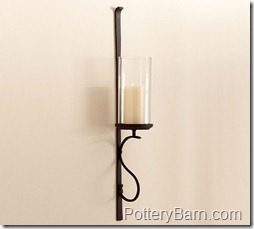
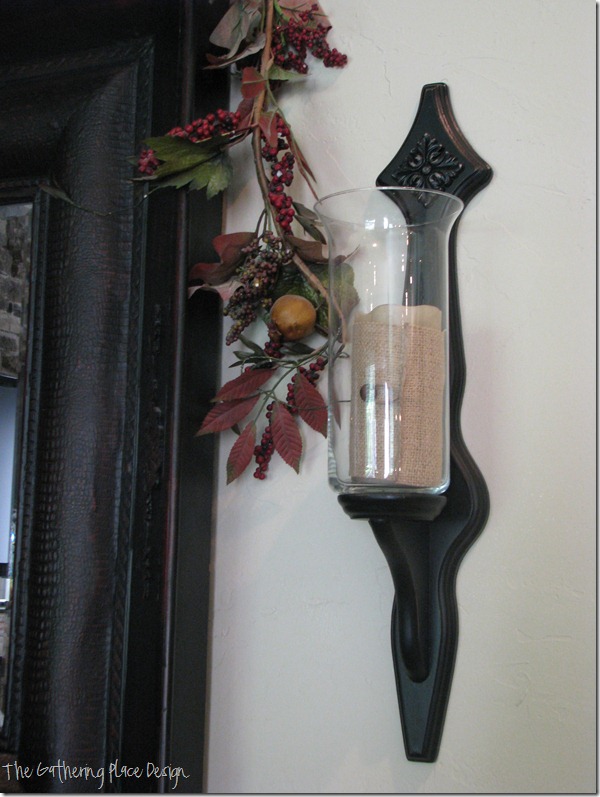
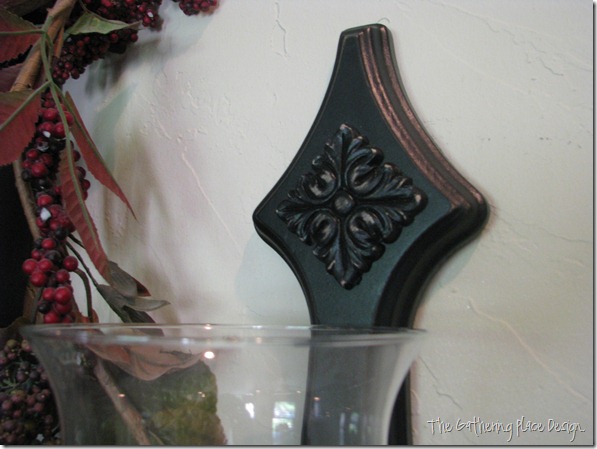
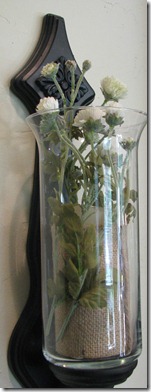
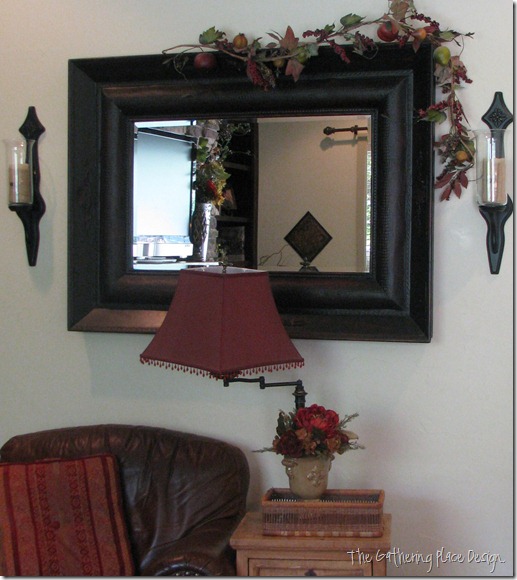
They were made to hold taper candles and I wanted them to hold my flameless pillars.  I popped of the small holder and added the wood appliqués to the top and spray painted them black.  I sanded the edges a bit and stuck my pillars on.  They looked nice flanking the sides of my mirror, but being inspired by the Pottery Barn hurricane wall sconces I decided to add my dollar store vases to them. 
PB Candle Sconce
  pbsconce 
IMG_1758


 IMG_1782
I like. Total price = around $10 for both.  Not bad at all.  I fashioned the candle a little cozy.  I’ll share another time, but it was really simple. Burlap, button, jute.
IMG_1791IMG_1788IMG_1795IMG_1778
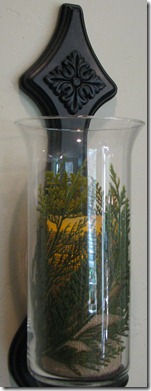
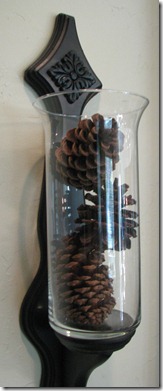
I am loving that I will be able to change the look easily with these.  Here are a few different ideas I was playing around with
IMG_1774
~I am changing things up a bit in this room.  (Notice the empty curtain rod in the mirror. Nice.) I am finally putting my super amazing clearance fabric I told you about to use.  Stay tuned…
Well, I have one little lady back in school and my baby goes to preschool next week.  Summer crazily flew by, but I am excited to work on some projects around my house to share with you!
Linking up with some great stuff…

Visit thecsiproject.com
Show and Tell Green
Make it Yours @ My Backyard Eden

Wednesday, August 18, 2010

Functional & Fashionable

IMG_1711

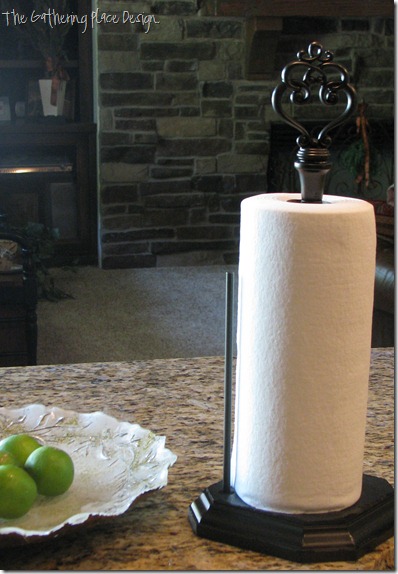
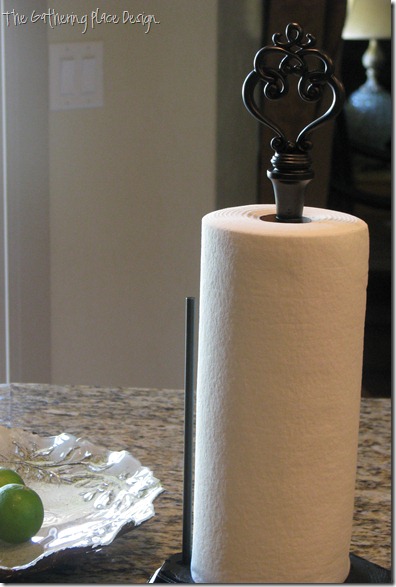
My paper towel holder had seen better days.  I have grown tired of looking at it everyday in it’s not so pretty state.  I have been looking for a new one that A. I like and B. wasn’t too pricey.  Then I had a fab idea.

Here is a quick  {seriously, like 15 min} update that is sooo simple.

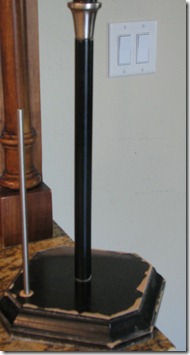
   IMG_1702IMG_1704

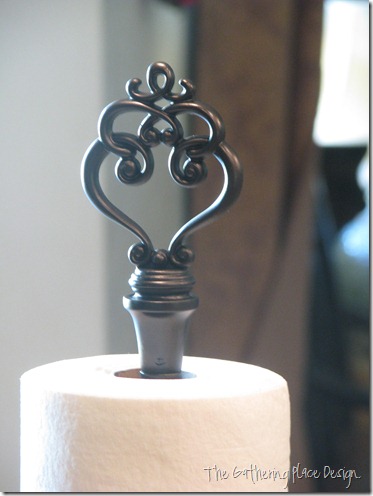
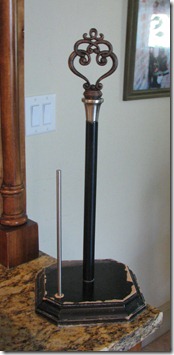
See the poor gal in her before state.  Tired, worn and used probably 20+ times a day for 6 years.  I had this extra curtain rod finial floating around and decided it would make a perfect topper.  I just Gorilla Glued it onto the existing top. This way we can still unscrew it to put the roll of paper towels on.*  I love the shape and how it adds some character to a utilitarian item.

*This may be common sense to you, but I could just see myself gluing it to the wood part and then not being able to put the roll of towels on.  Needless to say, I am a little proud that I was using the old noggin…  Today anyway. 

IMG_1709

So here is why I love spray paint… 

Just a couple coats of this easy-to-apply-magic-in-a-can, and you give a combination of different finishes and colors a totally uniform look.  No one would ever know that I didn’t purchase it this way.  In less than 15 minutes I  gave it a high end look for fa-REE!

  IMG_1710

Gettin linky with it…

Visit thecsiproject.com

FrugaliciouFridaybutton-1

Sunday, August 15, 2010

Displaying Your Collections

IMG_1667

IMG_1669  IMG_1670

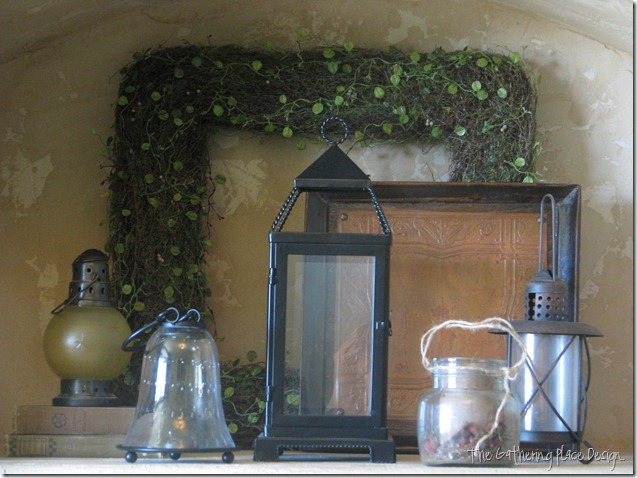
{Gathering} like items or collections and grouping them together can make an interesting display in your home. 

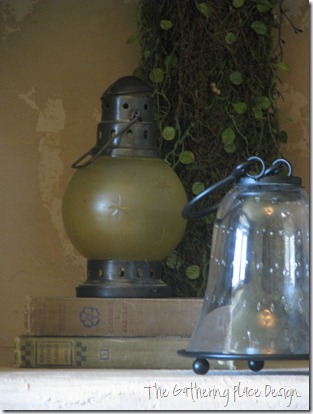
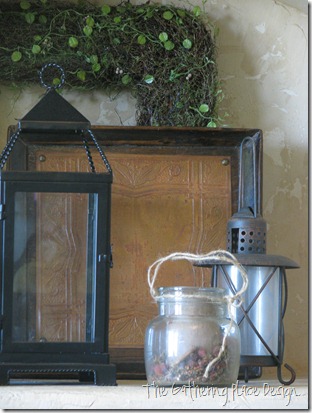
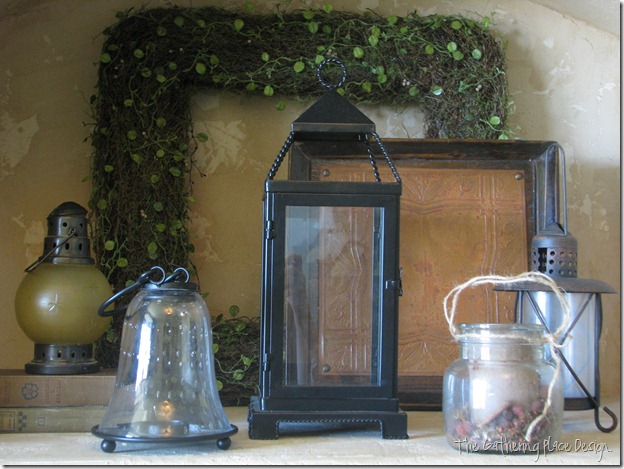
For instance, arranging my eclectic collection of lanterns together makes more of a statement than having them displayed around my home separately. 

   The varied sizes and shapes give the display interest and the overall effect of the collection makes an impact. Weed out your items to find the most eye pleasing pieces that work the best to compliment each other.

Keep in mind the scale of the items to the area you are displaying them in.  A lot of tiny knick knacks would not work well in this area. Grouped together, my lanterns fill up this alcove nicely without being too busy.

IMG_1658

What collections do you have to make a decorative grouping?  Shop your home and get these pieces together to create an interesting and impactful display.

Linking up…

UndertheTableandDreamingPhotobucket